%20-%20copia.png)
Geographic data in Excel
- Learn2Work

- Feb 6
- 2 min read

Do you need to complete a table with data on countries, cities or towns and you don't want to waste time looking for all the data, one by one, on the Internet?
With the geographic data functionality in Microsoft Excel 365, you can automatically fill in all the data in seconds. Below I show you how to do it in a few steps 👇👇👇
(Note: If you don't have the latest version of Excel, you can still try this feature in Excel 365 online available for free on the Microsoft 365 website .)
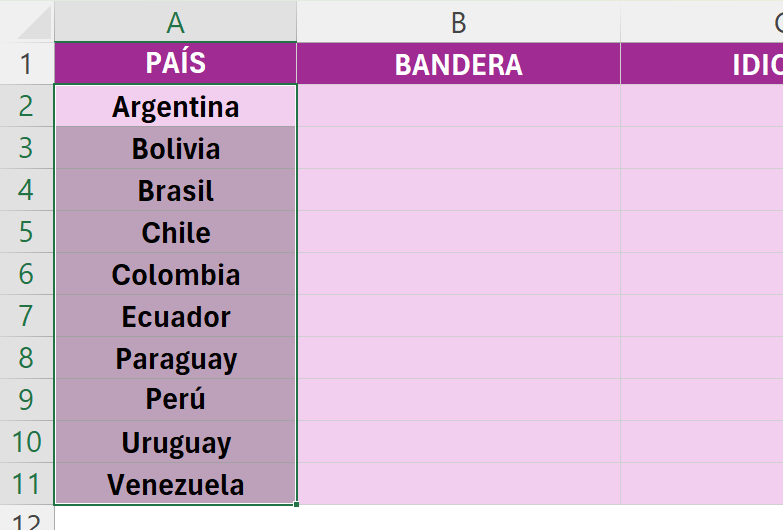
1. Select the list of countries, cities or towns about which you need more information. In this example, we will search for information on some South American countries:
2. On the ribbon, click "Data" and then select the "Geographic Information" data type :

3. You will see that your data has been converted to geographic data. You can tell by the map icon on the left. If you click on the map icon , you will see general information about the country. You will also see a new "Insert Data" icon on the right. Click on the "Insert Data" icon to see the available fields:

4. To add the country image, i.e. the flag, look for the "Image" field in the list of fields and click on it :

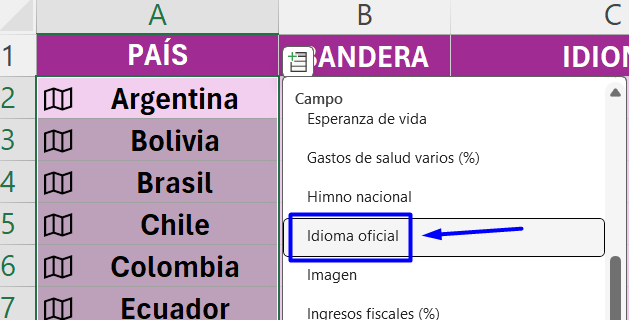
5. To add other data, such as the official language of each country, click the "Insert data" button again and select the "Official language" field :
6. Continue adding all the data you need in this way until your data table is complete:

With the geographic data type, you can add a wide variety of information about countries, world capitals, cities, towns, and other types of geographic divisions. Each type of geography will have different information available. Try and experiment to see what you find.
If you want to refresh the data, just press the keyboard shortcut Control + Alt + F5 and your data will be automatically refreshed.
Learn more about Excel in the "Excel for Work Course" on Udemy !


Comments